A dryer door that blocks the washer can turn a small laundry room into an obstacle course. The supplied specifications do not confirm hinge position or door reversibility for the models discussed here, so establish those details before choosing your layout. Then map the door’s swing, the route from washer to drum, and access for everyday upkeep. We would settle those questions before letting a bigger drum talk us into a machine that makes laundry harder to move.
Contents
- Start your left-opening dryer installation by finding the hinges
- Measure the dryer door swing before committing to a laundry closet
- Place a left-opening dryer where laundry can move straight from the washer
- Plan heat pump dryer connections before pushing it into position
- Choose dryer capacity and noise for a laundry room near bedrooms
- Frequently asked questions
- How can you tell whether a tumble dryer door opens to the left?
- Can you reverse the door on every tumble dryer?
- How much space should you leave in front of the dryer?
- Should a left-opening dryer go to the left of the washer?
- Do the Candy, Miele, and Whirlpool dryers here need an outdoor exhaust duct?
Start your left-opening dryer installation by finding the hinges
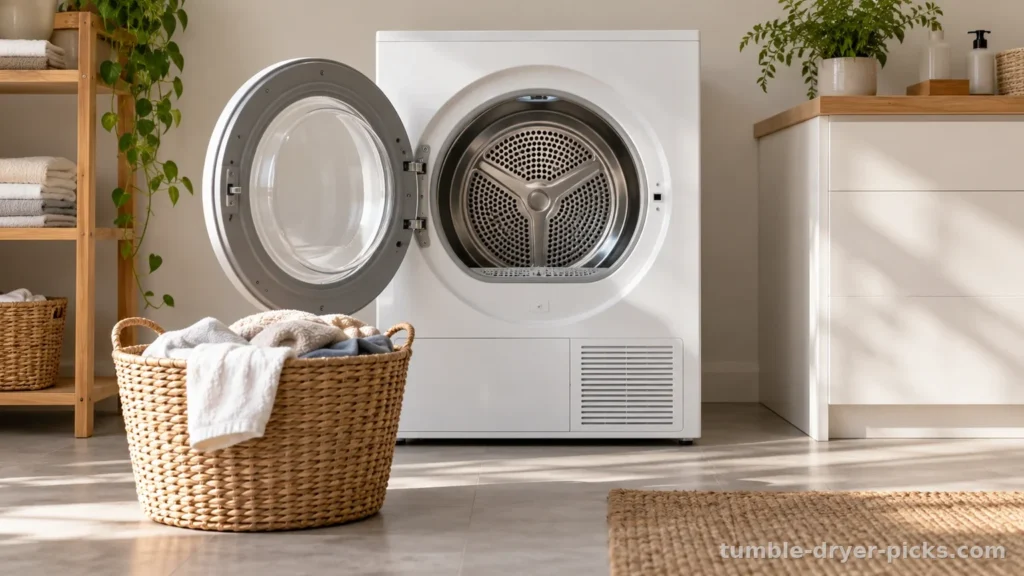
Stand facing the front of the dryer. Keep that viewpoint throughout your planning, including conversations with the delivery crew. “Left-opening” can describe the hinge side or the direction someone sees the door moving. The handle alone does not establish where the open door will sit. Find the hinges, then trace the door’s movement away from the drum.
Start with the manufacturer’s illustration showing the door open, then read the installation instructions for the exact model. Your practical question is simple: when you reach into the drum, will the door sit between you and the washer, beside a wall, or across the spot reserved for your basket? Write down the hinge position with the words “viewed from the front” so nobody has to interpret your shorthand.
Next, separate opening direction from reversibility. A door that swings toward the left does not automatically have a reversible hinge arrangement. A similar-looking appliance does not establish what yours permits, either. Before planning a hinge change, find an explicit reversal procedure in the manufacturer’s instructions. Follow that procedure, including any direction to use an installer. Moving visible screws is not a substitute for those instructions.
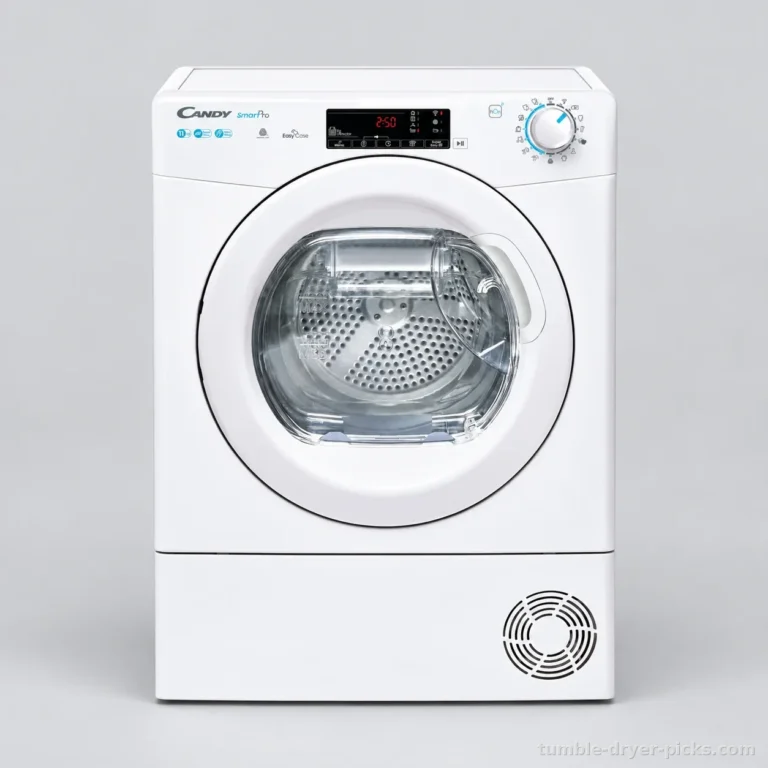
This distinction matters when comparing the Candy CSOE H11A2TE-S with the Miele TSD 643 WP. These are among the best-rated choices in our selection, but that assessment does not establish their suitability for a particular door arrangement. Make the confirmed hinge position part of your selection process before building cabinetry or arranging delivery.
We like a simple sketch here: washer, dryer, hinges, door arc, and basket. Add the room entrance and any cabinet doors. Draw the dryer door in its open position rather than leaving a neat rectangle where the appliance will stand. That small change exposes awkward overlaps immediately.
If the description remains ambiguous, ask the retailer to confirm the hinge side with the appliance viewed from the front. Keep that confirmation with your delivery instructions. Laundry already involves enough moving parts without making you the extra hinge.
Measure the dryer door swing before committing to a laundry closet
Measure the room before concentrating on the gap between appliances. Include the doorway, baseboards, cabinet handles, closet doors, and the route from the entrance to the laundry space. A dryer can fit its final position yet be awkward to move around a hallway corner. Discuss the actual delivery route and obstacles before arrival, especially in an apartment with narrow passages.
Mark the appliance footprint on the floor with removable tape. The Candy has a stated width of 59.6 cm, depth of 60.7 cm, and height of 85 cm. Those dimensions describe the cabinet. Add the clearances required by its installation instructions, the space for connections, and the open door. A cabinet measurement is not the complete working space.
The Miele measures 59.6 cm wide, 64.3 cm deep, and 85 cm high. Its front-to-back dimension matters in a shallow laundry closet: picture where the appliance front will land once the required rear space is included. Compare that position with the washer front and the closet doors. Lining up the backs does not necessarily create a convenient loading area.
Use the manufacturer’s dimensional drawing to mark the door’s sweep. Put your empty laundry basket where it would normally sit, then walk through the transfer motion. Can you bend toward the drum without stepping around the door? Can someone pass through the room? Does a closet handle enter the same space as the dryer door? You want comfortable access rather than a door that merely cracks open.
Include the route out with a full basket. A layout can look workable while you face the drum but become awkward when you turn toward the hallway. In a shared passage, consider the room with the dryer door open and someone approaching from outside.
A door touching a wall, striking cabinetry, or forcing the basket into the hallway is your signal to redraw the arrangement. Reposition the proposed footprint or reconsider nearby storage. Avoid making a wall serve as an accidental door stop. The required clearance comes from the appliance instructions and its door geometry, rather than a universal gap applied to every dryer.
Place a left-opening dryer where laundry can move straight from the washer
For appliances installed side by side, trace the laundry’s route before deciding which machine goes on the left. Draw the washer and dryer doors open together. The useful arrangement gives you access to each drum without a door standing across the transfer path. Depending on the washer’s hinges, the dryer may belong on either side. A left-opening dryer does not settle that decision by itself.
Think about carrying a wet bath towel rather than looking at an empty room. You need somewhere to stand, somewhere to set the basket, and enough access to move bulky fabric without dragging it around a door edge. We would favor the arrangement with the simplest transfer, even if another position looks more symmetrical beside the cabinets.
Try the movement with the basket at floor level and in its usual storage spot. A shelf that looks helpful on a drawing can become an obstacle when you bend down. Keep detergent storage and other supplies outside the door’s sweep, too. You should not need to rearrange the room whenever the washer finishes.
Appliance installation categories matter here. The Candy is freestanding, while the Miele is identified as built-in. Follow the corresponding manufacturer’s requirements before placing either beneath cabinetry or inside an enclosure. The door movement is part of the plan; ventilation, connections, and maintenance access belong in the same drawing.
If you want the dryer above the washer, establish approval for the exact appliance combination and its specified stacking kit before planning that arrangement. Matching widths do not establish compatibility, and front loading does not establish stacking approval. Confirm separately whether the specified kit comes with the appliance. For an approved arrangement, assess the open door at its installed height, including your reach to the drum and maintenance components.
With a fixed laundry closet, start with the connections and permitted appliance positions, then work outward to the doors and basket space. A freestanding designation does not mean you can stretch connections to reach a more convenient spot. If the layout requires that, have the installation arrangement revised. Choose the easiest laundry transfer within the appliance’s installation requirements. A clever door arrangement loses its appeal if every load still requires a sideways shuffle.
Plan heat pump dryer connections before pushing it into position
Identify the drying technology before planning connections. A vented dryer needs an exhaust duct to the outdoors. A heat pump dryer dries more slowly but uses less energy. The Candy, Miele, and Whirlpool CWD86MWBRFR are heat pump models, so their drying arrangement does not require an outdoor exhaust duct. Their instructions still determine ventilation clearances and suitable placement. Ventless does not mean suitable for any closed cupboard.
Next, organize the electrical connection around the exact appliance instructions and your home’s supply. Have a qualified installer resolve an unsuitable outlet or supply arrangement before positioning the machine. Include those requirements in the installation discussion before delivery. The electrical rating and connection instructions should guide that discussion, rather than the appearance of the plug.
Keep the cord clear of the door movement and follow the specified routing. Agree on the installation work included with delivery, particularly if access is tight or the appliance must go into cabinetry. Establish who will make the connections, position the machine, and remove packaging. This keeps an apparently simple delivery from stopping with a dryer stranded in the hallway.
Then plan water handling. All 3 models have a condensate tank that requires emptying. Keep its removal path clear after installation. A countertop edge, shelf, or open door can make that routine chore awkward enough to postpone. The forgotten tank does not need its own obstacle course.
The Miele also includes a drain hose. For a direct drain arrangement, follow its connection instructions and permitted hose routing before moving the appliance back. Avoid pinching the hose behind the cabinet and preserve access for inspection. For the Candy and Whirlpool, organize the routine around manually emptying the tank.
Position and level the appliance according to its instructions, then open the door through its intended movement. Remove and replace the tank, and confirm access to the lint filter. Clean the lint filter after every cycle, as appliance manuals instruct, and leave enough access to remove it comfortably without shifting the dryer or nearby furniture.
Pause the installation if a connection is trapped, the appliance stands unevenly, or a maintenance component cannot be removed. Correct the arrangement before treating the job as finished. Loading, unloading, and routine upkeep should all work with the appliance in its final position.
Choose dryer capacity and noise for a laundry room near bedrooms
Once the door layout works, match the dryer to your laundry and the neighboring rooms. For larger cotton loads, the Candy offers 11 kg of capacity and a drum volume of 125 L. That combination suits bigger laundry sessions and gives fabric room to move. Capacity and drum volume are among its strongest points in our analysis, making it a sensible candidate for substantial cotton loads in a separate laundry room.
The Miele also suits larger loads, with capacity of 9 kg and drum volume of 120 L. A stated load capacity by weight applies to cotton at full load: synthetic fabrics have a much lower load allowance. Your workout clothes therefore need their own program guidance rather than the same loading approach as cotton towels.
Near a bedroom, we would favor the Whirlpool. Its published sound level of 60 dB places it among the quietest choices in the selection. Its capacity of 8 kg suits an everyday washer load, while its 127 L drum gives laundry room to tumble. For a closet beside sleeping space, that sound specification carries more weight than extra cotton capacity you rarely use.
The Candy’s 66 dB places it among the loudest according to published specifications, so avoid running it late. The Miele’s 64 dB sits around the average. We like the Candy’s larger-load role; what holds us back beside bedrooms is its noise. A door opening in the right direction cannot make the neighboring room quieter.
For energy efficiency, compare labels using the same scale. On the supplied A to G scale, the Whirlpool carries A, the Miele C, and the Candy E. The Miele also has an older A+++ rating, which belongs to a different scale and cannot be compared directly with the current letters. Heat pump technology matters, but it should not replace a comparison of the actual energy labels.
Before delivery, organize the warranty documents, service contact, and return terms, including how installation affects returns. Keep those details alongside the agreed installation scope. Finish with the room drawing: door movement, basket position, connections, tank access, and required clearances. A useful laundry room lets you carry on with your evening while the drying rack stays folded away.
Frequently asked questions
How can you tell whether a tumble dryer door opens to the left?
Face the appliance and locate the hinges in the manufacturer’s open-door illustration. Follow where the door sits when open. Describe the hinge position as viewed from the front, because “left-opening” can refer to either the hinges or the direction of movement.
Can you reverse the door on every tumble dryer?
No. Reverse a door only when the manufacturer provides a procedure for the exact model. Follow its instructions, including any requirement for an installer. Handle position and a similar-looking hinge arrangement do not establish that the door is reversible.
How much space should you leave in front of the dryer?
Use the manufacturer’s clearance requirements and open-door dimensions, then allow working space for your basket and access to the drum. Include tank removal and filter access. If the door hits a wall or cabinet, revise the layout before installation.
Should a left-opening dryer go to the left of the washer?
The washer’s door movement matters just as much. Draw each door open and choose the position that keeps the transfer path clear. For installation above a washer, establish approval for the exact appliance combination and the specified stacking kit before planning the layout.
Do the Candy, Miele, and Whirlpool dryers here need an outdoor exhaust duct?
No. The Candy CSOE H11A2TE-S, Miele TSD 643 WP, and Whirlpool CWD86MWBRFR use heat pump technology and do not need an outdoor exhaust duct. Follow their ventilation clearances and preserve tank access. The Miele also includes a drain hose for connection according to its instructions.
Was this article helpful?
0% of readers found it useful (0 reviews)